Monday, November 30, 2009

Magenetic Calendars

Hey there stampers! Hope you are having a great day!
Today's project is a magenetic calendar made using some retired and current DSP, some coasters, ribbon and magnets!  Super easy, handy and fun!  I got the self-adhesive calendars from Vippies.


STEPS:


  1. Cover front and back of coasters using DSP and Snail.  Trim edges and use sanding block to smooth it out.
  2. Adhere calendar to coaster and tie ribbon around it.
  3. Adhere adhesive backed magnet strip to back of coaster.
Thanks for stopping by!

Hugs,

Sunday, November 29, 2009

Elf Box

Hey there stampers! Thanks for stopping by!

Today's project is another fantastic one I CASEd from Tammy.  I thought he was just too cute!!


Don't forget to check out the Holiday Extravaganza going on only until Monday!! Click HERE to check it out!
Hugs,

Thursday, November 26, 2009

Snowman Box

Hey there stampers! Hope you had a fantastic Thanksgiving!
Today's project is another one I CASEd from Tammy at her blog HERE .  I used the Fancy Favor Box for my base and then added the decorated Top Note pieces to it.  I LOVE these!


Have a great day and thanks for stopping by!


Hugs,

Wednesday, November 25, 2009

Clip Board Post It Notes

Hey there stampers! I'm so glad you stopped by to visit!
Today's project is another one I had for my boutique.  Super simple and cute!


STEPS:


  1. Adhere DSP to front and back of chip board coaster (mine are from Chili's Restaurant!!)  Add a pad of post-it notes secured with a mini binder clip covered with some of the same DSP.  Add coordinating ribbon to the clip.


INGREDIENTS:


  • STAMPS: none
  • INK: none
  • PAPER: Night & Day Specialty and Christmas Cocoa DSP
  • ACCESSORIES: Binder clips, coasters, various ribbon

Have a terrific day and hope to see you again tomorrow!
Hugs,

Tuesday, November 24, 2009

Decorative Peppermint Patties

Hey there stampers!  I decorated some peppermint patties and packaged them up in a cello bag with ribbon.  Super easy and a simple gift for those people you'd like to remember for the holidays but don't want to spend a lot of money. :)


STEPS:


  1. Stamp various Christmas themed stamps and punch with the 1 3/8" Circle Punch add to coordinating card stock punched with the Scallop Circle Punch and adhere to peppermint patty.


Hope you are having a great day!

Hugs,

Monday, November 23, 2009

Stampin' Up! - Online Extravaganza

HOLIDAY EXTRAVAGANZA!  Nov. 23-30 only!
Hey there stampers! You have to check out this Holiday Extravaganza that Stampin' Up has happening this week only! Great deals on bundled products-up to 50% off!! Don't miss out! Click on image above or on Extravaganza button in the right column!

Hugs,

Santa Box

Hey there stampers! Boy has it been a crazy week and weekend!  Between sick kiddos, volunteering at their school, prepping for my 2 Stamp a Stack classes, a boutique, kitten adoptions and a Holiday Kick-Off Party I wasn't sure whether I was coming or going!  This next week promises to be busy too.  I'm working, having class parties, my littlest is turning 5 and having a party and of course Thanksgiving and all the fun that brings!  Phew!
Today I am showing you a box I made that is totally CASEd from Tammy who created a fabulous tutorial at her blog HERE


I added a handle of the 1 1/4" Old Olive Striped ribbon and a bag of perppermint patties.  I also don't have the Pennant Die yet so I made the hat by punching the edges of some Real Red card stock with the Scallop Edge Punch.  Isn't he cute?!
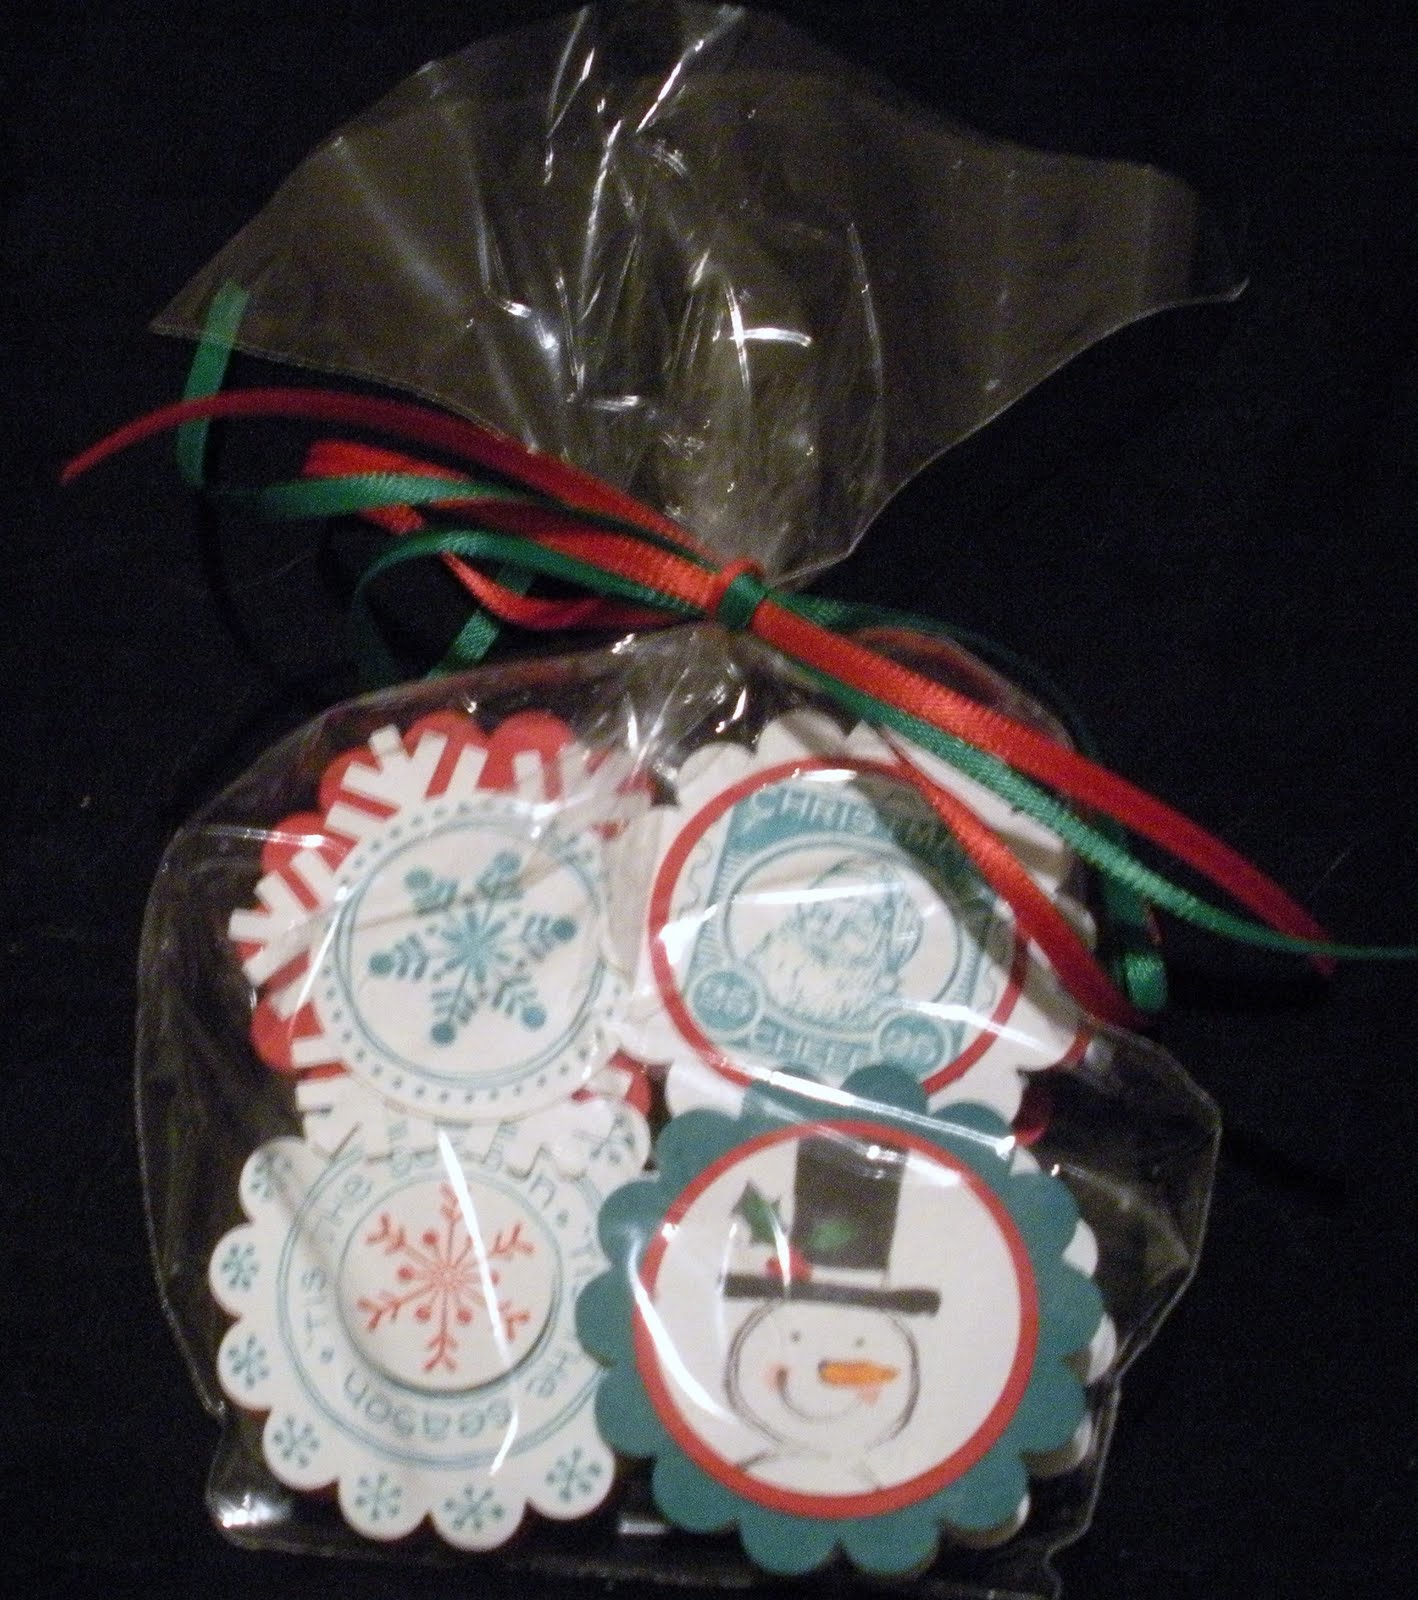

INGREDIENTS:


  • STAMPS: none
  • INK: Blush Blossom, White Gel Pen
  • PAPER: Whisper White, Blush Blossom, Real Red, Basic Black
  • ACCESSORIES: Old Olive Ribbon
  • TOOLS: Scallop Edge, 1" Circle, 3/4" Circle, Boho Blossom, Scallop Circle, Scallop Oval Punches, Top Note Die, Perfect Details Texture Plate

Thanks for your patience with me not posting as much lately!  i hope you will continue to visit me when I do! :)
Hugs,

Tuesday, November 17, 2009

Wandering Santa!

Hey there stampers!  Sorry it's been so quiet around here.   I am finally starting to feel better but my kids are still sick! agh!
Today's card is one I've seen several places out there in blog land.  I knew I had to make one too!


STEPS:


  1. Start with a Whisper White card stock base.  Stamp the santa and his sleigh image from the Wandering Words stamp set in Basic Black.
  2. Punch a 1 3/8" Circle from a post-it note to use as a mask.  Stick over Santa and sponge first using Bashful Blue then Not Quite Navy to create the night sky.
  3. Tear a scrap piece of Whisper White to make snowy hills and add 2-way Glue Pen along edge. Add Dazzling Diamonds on glue and tap off extra.
  4. Add snowflakes punched with the Snowflake Punch and Whisper White and Silver card stock.


INGREDIENTS:


  • STAMPS: Wandering Words
  • INK: Basic Black, Bashful Blue, Not Quite Navy
  • PAPER: Whisper White, Silver
  • ACCESSORIES: 2-Way Glue Pen, Dazzling Diamonds
  • TOOLS: Snow Flake Punch

Thanks for stopping by!
Hugs,

Sunday, November 15, 2009

Faux Tearing

Hey there stampers! Thanks for stopping by!
Today's card is the second one we did at my Technique Class this weekend.  I showed Faux Tearing for the grassy hill.


STEPS:


  1. Start with a Very Vanilla card stock base, add a panel of Crushed Curry and Close to Cocoa card stock.
  2. Using a scrap Scallop Circle and a sponge, sponge Bashful Blue ink to create clouds in the background on Very Vanilla card stock.
  3. Tear a scrap piece of paper to use as your mask.  Mask off the top part of your card and ink up the Texture Jumbo Wheel in Old Olive ink.  Wheel along bottom of card until you like the way it looks.
  4. Carefully move the mask up about an 1/8" and use a sponge and Old Olive ink to create a darker edge to your "hill".
  5. Stamp your tree and leaves from the Branch Out stamp set in Close to Cocoa, Crushed Curry and Old Olive.  Notch out the corners with the Ticket Corner Punch.
  6. Stamp the leaf that says "thanks" from the Falling Leaves stamp set in Pumpkin Pie ink on Very Vanilla card stock and cut out with scissors. Adhere to card with dimensional. Tie Old Olive Grosgrain ribbon around top of card.

INGREDIENTS:


  • STAMPS: Branch Out, Falling Leaves, Texture Jumbo Wheel
  • INK: Close to Cocoa, Crushed Curry, Pumpkin Pie and Old Olive
  • PAPER: Crushed Curry, Very Vanilla,  Close to Cocoa
  • ACCESSORIES: Dimensionals, Old Olive Grograin Ribbon
  • TOOLS: Ticket Corner Punch

Have a terrific day!
Hugs,

Saturday, November 14, 2009

Technique Class Card

Hey there stampers!  So glad you stopped by to visit!  be sure to leave a comment so I know you've stopped by!
Today's card is one we are doing today at my Technique Class.  We are doing the Poppin' Pastels technique using the Falling Leaves stamp set.  I am sure it's going to be a fun class and hopefully my ladies will forgive my very froggy sounding voice! :)


STEPS:


  1. Start with an Always Artichoke card stock base, randomly stamp in the same color using one of the leaf images from the Falling Leaves stamp set.
  2. Stamp three leaves in Versamark ink on Very Vanilla card stock.  Using a Sponge Dauber or cotton ball, pick up color from your Stampin' Pastels and dab or rub on the Versamark stamped image.  I used Bravo Burgundy, Always Artichoke and More Mustard.  The Versamark will hold the chalk.
  3. Adhere the stamped panel to a panel of Bravo Burgundy and then onto a panel of Kraft card stock.
  4. Wrap some twine around these and adhere to card using Dimensionals.
  5. Stamp the sentiment in Always Artichoke on Very Vanilla card stock and punch with the Word Window Punch.  Add to bravo Burgundy punched with the Modern Label Punch.


INGREDIENTS:


  • STAMPS: Falling Leaves
  • INK: Versamark, Always Artichoke
  • PAPER: Always Artichoke, Very Vanilla, Bravo Burgundy, Kraft
  • ACCESSORIES: Twine, Sponge Dauber, Stampin' Pastels, Dimensionals
  • TOOLS: Modern Label, Word Window

Have a great weekend!
Hugs,

Friday, November 13, 2009

Branch Out Fall Card

Hey there stampers!  Yes, I am still alive but barely!  I've been so sick and we all know how that goes as a mom....Lucky us we've been passing it through our family too! Ugh!  I hope you are all staying healthy out there!

Today's card uses one of my faves the Branch Out stamp set in fall colors.


STEPS:


  1. Start with a Pumpkin Pie card stock base and add a panel of Old Olive and Close to Cocoa.
  2. Using a punched out Scallop Circle scrap and a sponge, sponge Bashful Blue on Whisper White card stock to create clouds.  Notch out the corners with the Ticket Corner Punch.
  3. Tear a piece of scrap paper to make a hill and cover the top part of your card.  Brayer Old Olive along the bottom to create the grassy hill.  This technique is also called "faux tearing".
  4. Stamp the tree from the Branch Out stamp set in Close to Cocoa and the leaves in Old Olive, Pumpkin Pie, and Crushed Curry inks.
  5. Stamp the sentiment from the falling Leaves stamp set using Stampin' Write Markers and punch with the 1" Cicle Punch.  Layer onto Pumpkin Pie punched with the 1 1/4" Circle Punch and adhere to card with a Dimensional.


INGREDIENTS:


  • STAMPS: Branch Out, Falling Leaves
  • INK: Old Olive, Close to Cocoa, Crushed Curry, Pumpkin Pie, Bashful Blue, Stampin' Write Markers
  • PAPER: Old Olive, Close to Cocoa, Pumpkin Pie, Whisper White
  • ACCESSORIES: Dimensionals, Sponges
  • TOOLS: 1" and 1 1/4" Circle Punches, Ticket Corner Punch

Thanks for stopping by!
Hugs,

Tuesday, November 10, 2009

Fall Basket

Hey there stampers! How are you?  I am soooo sick with the flu right now but managed to make this before it hit me hard.  It will probably be quiet on my blog for the next few days as the flu is taking everything out of me and I have no energy!
Today's project uses the Baskets and Blooms Die cut down and modified to make a basket.  i stamped it with the leaves from the Falling Leaves stamp set.


INGREDIENTS:


  • STAMPS: Falling Leaves
  • INK: Old Olive, Stampin' Write Markers
  • PAPER: Old Olive, Chocolate Chip, More Mustard, Whisper White
  • ACCESSORIES: Dimensionals, Old Olive Wide Striped Ribbon
  • TOOLS: Scallop Circle, 1 1/4" Circle and 1" Circle Punches, Basket and Blooms Die

Thanks for stopping by!
Hugs,

Monday, November 9, 2009

Flight of the Butterfly

Hey there stampers! Hope you are having a great day!
Today's card uses the Flight of the Butterfly stamp set and the coordinating Butterfly punch.


STEPS:


  1. Start with a Bermuda Bay card stock base and randomly stamp butterfly from the Flight of the Butterfly stamp set in Bermuda Bay ink.
  2. Stamp the sentiment from the same stamp set in Bermuda Bay on Whisper White.  Stamp butterfly in Melon Mambo and Basic Black on Whisper White using the Stamp-a-ma-jig to line eveything just right.  Cut out with scissors.  Use the Butterfly punch to punch out a piece of Melon Mambo and adhere cut out buttertfly to it.  Notch corners of the Whisper White piece with the Ticket Corner Punch and mat onto Melon Mambo.
  3. Add a strip of Whisper white card stock to a slightly larger strip of basic Black and adhere to card.  Add main image over it.  Add a Rhinestone Sticker (local craft store) to the butterfly's middle.


INGREDIENTS:


  • STAMPS: Flight of the Butterfly
  • INK: Bermuda Bay, Melon Mambo and Basic Black
  • PAPER: Melon Mambo and Basic Black, Bermuda Bay, Whisper White
  • ACCESSORIES: Rhinestone Sticker (local craft store)
  • TOOLS: Stamp-a-ma-jig, Butterfly Punch


Hugs,

Sunday, November 8, 2009

Season of Thanks

Hey there stampers! So glad you stopped by today!
Today's card uses more card guts and the Season of Friendship and Falling Leaves stamp sets.  Super easy and I love it!


STEPS:


  1. Start with Pumpkin Pie card stock base and punch the edge with the Scallop Edge punch.  Add some Razzleberry Lemonade DSP to the inner edge of card so that the edge shows.
  2. Stamp the tree from the Season of Friendship stamp set in Close to Cocoa and add the leaves in Old Olive, Pumpkin Pie, Crushed Curry.  Mat onto Close to Cocoa card stock and then onto Cast-A-Spell DSP.  Adhere to card.
  3. Stamp the leaf from the Falling Leaves stamp set in Pumpkin Pie ink and punch with the 1 1/4" Circle punch.  Mat onto Close to Cocoa punched with the 1 3/8" Circle Punch and adhere to card using a Dimensional.
  4. Tie Chocolate Chip Grosgrain ribbon around card and tie into knot. 


INGREDIENTS:


  • STAMPS: Falling Leaves, Season of Friendship
  • INK:Old Olive, Pumpkin Pie, Crushed Curry
  • PAPER: Close to Cocoa, Pumpkin Pie, Cast-A-Spell DSP, Razzleberry Lemonade DSP 
  • ACCESSORIES: Chocolate Chip Grosgrain ribbon, Dimensionals
  • TOOLS: Scallop Edge Punch, 1 1/4" and 1 3/8" Circle Punch

Have a terrific day!
Hugs,

Saturday, November 7, 2009

Citrus Birthday

Hey there stampers! Thanks for stopping by!
Today's card uses the Tart and Tangy stamp set and is really summery!


STEPS:


  1. Start with a Yo Yo Yellow card base and add a panel of Green Galore.
  2. Stamp the lemon from the Tart and Tangy stamp set randomly in Yo Yo Yellow, Only Orange and Green Galore.  Add to green Galore piece.
  3. Stamp 3 lemons on Whisper White using the rock n roll technique where you ink up first in Yo Yo Yellow then roll just the outer edges of the stamp in Only Orange before stamping it.  Punch with the 1 1/4" circle Punch and mat onto Yo Yo Yellow punched with the 1 3/8" Circle Punch.  Add to Green Galore punched with the Scallop Circle Punch.
  4. Add a panel of Only Orange across the card and add your scallop circle mounted lemons using Dimensionals.
  5. Stamp sentiment in Basic Black on Whisper White and punch with the Word Window Punch.  Stamp the lemon in yo Yo Yellow over the sentiment and add to Yo Yo Yellow punched witht he Modern Label Punch.  Adhere to card.  Add Dazzling Diamonds Glitter to lemons using the 2 Way Glue Pen.


INGREDIENTS:


  • STAMPS: Tart and Tangy, Wow Flowers
  • INK: Yo Yo Yellow, Only Orange and Green Galore, Basic Black
  • PAPER: Yo Yo Yellow, Only Orange and Green Galore, Whisper White
  • ACCESSORIES: Dazzling Diamonds Glitter, 2 Way Glue Pen
  • TOOLS: Scallop Circle, 1 1/4" and 1 3/8" Circle Punches, Modern Label and Word Window Punches

Have a super day and go stamp something fun!
Hugs,

Friday, November 6, 2009

Birthday Wishes

Hey there stampers! Thanks for visiting!
Today's card uses up some more card guts.  This time I used 3 different stamp sets instead of one from my orginal card.


STEPS:


  1. Start with a Bermuda bay card base and stamp the flower from the Season of Friendship stamp set randomly in Bermuda Bay ink.
  2. Stamp the butterfly and flower silhouette image from the hostess set Of the Earth in Going Gray on Whisper White and notch out the corner with the Ticket Corner Punch.  Mat onto Melon mambo card stock.
  3. Wrap some Crushed Curry Polka Dot Ribbon around the edge of the Melon Mambo piece and tie into knot.  Adhere piece to card.
  4. Stamp sentiment from the Wow Flowers stamp set in Basic Black on Whisper White and punch with the Word Window Punch.  Layer onto Crushed Curry punched with the Modern Label Punch.  Add a 1" Circle of Melon Mambo to the back and adhere to card.


INGREDIENTS:


  • STAMPS: Of the Earth, Season of Friendship, Wow Flowers
  • INK: Going Gray, Bermuda Bay
  • PAPER: Bermuda Bay, Melon Mambo, Whisper White, Crushed Curry
  • ACCESSORIES: Crushed Curry Polka Dot ribbon
  • TOOLS: Ticket Corner Punch, Word Window, Modern Label and 1 " Circle Punches

Have a great weekend!
Hugs,

Thursday, November 5, 2009

Falling Leaves

Hey there stampers! How are you? I am sick so I'm not really in the mood to stamp but I made myself do it anyway!
Today's card uses some of my left over card guts from Halloween.  I just flipped the Cast-A-Spell DSP over to the Old Olive design instead of the skulls!  I also used one of my new favorite stamp sets called Falling Leaves and some Razzleberry Lemonade DSP.


STEPS:


  1. Start with a Pumpkin Pie card stock base and punch the edge with the Scallop Edge Punch.  Add some Razzleberry Lemonade DSP to the inside so the scalloped edge stands out.
  2. Stamp the leaves from the Falling Leaves stamp set randomly in Crushed Curry, Old Olive, Pumpkin Pie inks.  I stamped off first for mine to make it lighter.  Mat onto Close to Cocoa with the edges roughed up with your fingernails.
  3. Mat the main image onto Razzleberry Lemonade DSP, then onto Close to Cocoa with roughed up edges, then Cast-A-Spell DSP and finally onto your card base.
  4. Stamp the thankful leaf in Old Olive ink on a scrap of Whisper White and punch with the 1 1/4" Circle Punch.  Mat onto Close to Cocoa punched with the 1 3/8" Circle Punch and adhere to center with a Dimensional.
  5. Wrap Chocolate Chip Grosgrain Ribbon around card and tie into knot.


INGREDIENTS:


  • STAMPS: Falling Leaves
  • INK: Old Olive, Pumpkin Pie, Crushed Curry
  • PAPER: Pumpkin Pie, Close to Cocoa, Cast-A-Spell DSP, Razzleberry Lemonade DSP, Whisper White
  • ACCESSORIES: Dimensionals, Chocolate Chip Grograin ribbon
  • TOOLS: 1 1/4" and 1 3/8' Circle and Scallop Edge Punches

Thanks for stopping by!  I'd love to hear from you if you care to leave a comment!
Hugs,

Wednesday, November 4, 2009

Razzleberry Lemonade Bear

Hey there stampers!  Thanks for checking in with me!  Hope you are having a great week!
Today's card uses the Razzleberry Lemonade DSP for my Build-a-Bear's clothing, the Bigz Bear Die, the Bear Essentials Die (clothing) and the matching girl bear sizzlit die for the bow on her cute little head! :)  Can you tell I had all the pink stuff still on my work space from yesterday's card?!


Oops, guess my pic is a lil crooked ;) Kind of how my week's been going!

STEPS:


  1. Start with a Pretty in Pink card stock base.  Add a panel of Pixie Pink card stock stamped with the Texture Jumbo Wheel in Pixie Pink ink.
  2. Add a panel of Whisper White also stamped with the Texture Jumbo Wheel inked in Pixie Pink Ink and notch out the corners with the Ticket Corner Punch.
  3. Die cut the Build-A-Bear using the Bigz Bear Die and Kraft card stock and Creamy Caramel for the muzzle.  Add a 1" Circle of Basic Black to the back of her head to cover the eyes, nose and mouth holes.
  4. Die cut the clothing using the Bigz Beary Essentials die and Razzleberry Lemonade DSP and Whisper White for the shirt.  Add to bear and adhere to card.
  5. Die cut the bow from the Beary Girl Sizzlit and adhere to bear.


INGREDIENTS:


  • STAMPS: Texture Jumbo Wheel
  • INK: Pixie Pink
  • PAPER: Pretty in Pink, Pixie Pink, Whisper White, Razzleberry Lemonade DSP, Kraft, Basic Black, Creamy Caramel
  • TOOLS: Ticket Corner Punch, Bigz Build-A-Bear Die, Bigz Beary Essentials Die, Big Shot, Beary Girl Sizzlit

I have a busy day at work tomorrow and a sick kiddo so I might not have time to stamp again before Thursday afternoon so stay tuned :) til then happy stamping!
Hugs,

Tuesday, November 3, 2009

Pals Paper Arts Challenge #14 In the Pink!

Hey there stampers! Thanks for joining me today!
Today's card is my submission for the Pals Paper Arts Challenge for the week...In the Pink!  I used the Wandering Words stamp set from the Holiday Mini as well as the sentiment from All Holidays and the Texture Jumbo Wheel.


STEPS:


  1. Start with a Pretty in Pink card stock base.  Ink up the Texture Jumbo Wheel in Pixie Pink and roll onto card base.
  2. Using Stampin' Write Markers ink up the mailbox image from the Wnadering Words stamp set and stamp onto Whisper White.
  3. Sponge clouds using a Scallop Circle mask, Bashful blue ink and a Stampin' Sponge and rub in a circular motion.  Notch out corners with the Ticket Corner Punch and mat onto Pixie Pink card stock.
  4. Tie Pink Gingham Ribbon around Pixie Pink piece and tie into knot.  Adhere to card base.  Stamp sentiment from All Holidays stamp set using Stampin' Write Markers and punch with 1" Circle Punch.
  5. Take Pretty in Pink card stock and punch with Heart Punch.  Adhere to card and add sentiment to center with Dimensional.


INGREDIENTS:


  • STAMPS: All holidays, Wandering Words
  • INK: Stampin' Write Markers, Bashful Blue, Pixie Pink
  • PAPER: Pretty in Pink, Pixie Pink, Whisper White
  • ACCESSORIES: Pink Gingham Ribbon, Dimensional
  • TOOLS: Ticket Corner Punch, 1" Circle Punch, Heart Punch

Hope you are having a great day!
Hugs,

Monday, November 2, 2009

Sweet Sunday Sketch Challenge

Hey there stampers! Hope you had a terrific Halloween weekend!

It's been FOREVER since I've been able to play along with a challenge and today I did!  I made my card following Karen Giron's awesome Sweet Sunday Sketch Challenge and using the Falling Leaves stamp set.


STEPS:

  1. Start with a Close to Cocoa card stock base measuring 9 x 8 and folded in half so the card front is 9 x 4.  Add a panel of Whisper White cut at 8 3/4 x 3 3/4.
  2. Ink up the Bright Blessing Jumbo Wheel in Versamark ink and roll onto Old Olive cut at 3 1/2 x 8 1/2.
  3. Using the leaves from the Falling Leaves stamp set and Old Olive, Pumpkin Pie, Crushed Curry and Close to Cocoa inks randomly stamp the leaf images stamping off first (ink up stamp, stamp onto scrap paper, then onto your card)onto Whisper White cut at 2 1/4 x 3 1/4.  Stamp sentiment from same stamp set in Basic Black and notch corners using the Ticket Corner Punch.
  4. Add Chocolate Chip card stock strip punched with the Scallop Edge Punch.  Add tiny sliver of Pumpkin Pie card stock through holes in the Chocolate Chip Corderoy Button.  Add to card with Mini Glue Dot.

INGREDIENTS:

  • STAMPS: Bright Blessing Jumbo Wheel, Falling Leaves
  • INK: Old Olive, Pumpkin Pie, Crushed Curry and Close to Cocoa, Versamark
  • PAPER: Close to Cocoa, Old Olive, Whisper White, Chocolate Chip
  • ACCESSORIES: Chocolate Chip Corderoy Button, Mini Glue Dots
  • TOOLS: Ticker Corner Punch, Scallop Edge Punch
 
Thanks for stopping by!
Hugs,

Sunday, November 1, 2009

Hello There!

Hey there stampers! Did you survive Halloween?  We had fun trick-or-treating around the neighborhood with our kids and neighbors.  I ate too much candy but man was it yummy!  Once a year isn't so bad to indulge!
Here are my girls not-so-little Bo Peep, a witch and a last minute ladybug girl!


Today's card is one I made after visiting Julia Bettencourt's blog and seeing her adorable punch art owl!  i knew I had to make one too!


STEPS:


  1. Start with a Kraft card stock base.
  2. Ink up the branch image fromt he Cheep Talk stamp set with your Stampin' Write Markers and stamp on Old Olive card stock.  Add owl made from Close to Cocoa, Pumpkin Pie, Whiper White, Basic Black and Chocolate Chip card stock and the 1/4", 1/2", 3/4", 1 3/4 and Scallop Circle Punches and the Boho Blossom and 5 Petal Flower Punches.
  3. Mat onto Close to Cocoa card stock and add Old Olive Striped ribbon around it.  Punch hole with Paper Piercer and add Chocolate Chip Corderoy Brad.


INGREDIENTS:


  • STAMPS: Cheep Talk
  • INK: Basic Black, Stampin' Write Markers
  • PAPER: Close to Cocoa, Pumpkin Pie, Whiper White, Basic Black, Old Olive and Chocolate Chip
  • ACCESSORIES: Chocolate Chip Corderoy Brad, Old Olive Striped ribbon
  • TOOLS: 1/4", 1/2", 3/4", 1 3/4 and Scallop Circle Punches and the Boho Blossom and 5 Petal Flower Punches.


Hope you are having a fabulous weekend! Thanks for stopping by!
Hugs,